photo twitter_zpsktcr9tuf.png  photo pinterest_zpscq0ushrx.png  photo facebook_zps9mnntr8s.png  photo etsy_zps5tpibpqs.png

Pages

Tuesday, April 23, 2019

Adding New Sticker Books to the Stash


When I first got into the stickers and all the accessories, I was working out of a cart. And after everyone would go to bed (or if I had time alone), I would pull everything out and work on the couch if it was planner stuff and at the kitchen table if it was for the memory keeper.
Needless to say, that was not working for me- at all. So I commandeered a desk from Squish's room, refinished it, and VOILA! I have a place for me and all my planner stash!

One of the drawers is dedicated solely to my sticker books. To make it easier to see which was which, I used some of the tricks I saw on Instagram and Pinterest. Those are pretty straight forward, but there's one more little thing that is a big help.

Luckily I just hit the new release jackpot and got the LAST four that have had me on edge while I search for them. I took a few shots as I was getting them ready to add to my desk so I could share how I set them up.


I could not wait to get my hands on Happy Year, Colorful Boxes 3, Free Spirit 2, and most of all Botanical. All the heart eyes for that one! 

Since I am looking down on them with them being in a drawer, I decided to write the name of the sticker book on the top left. 


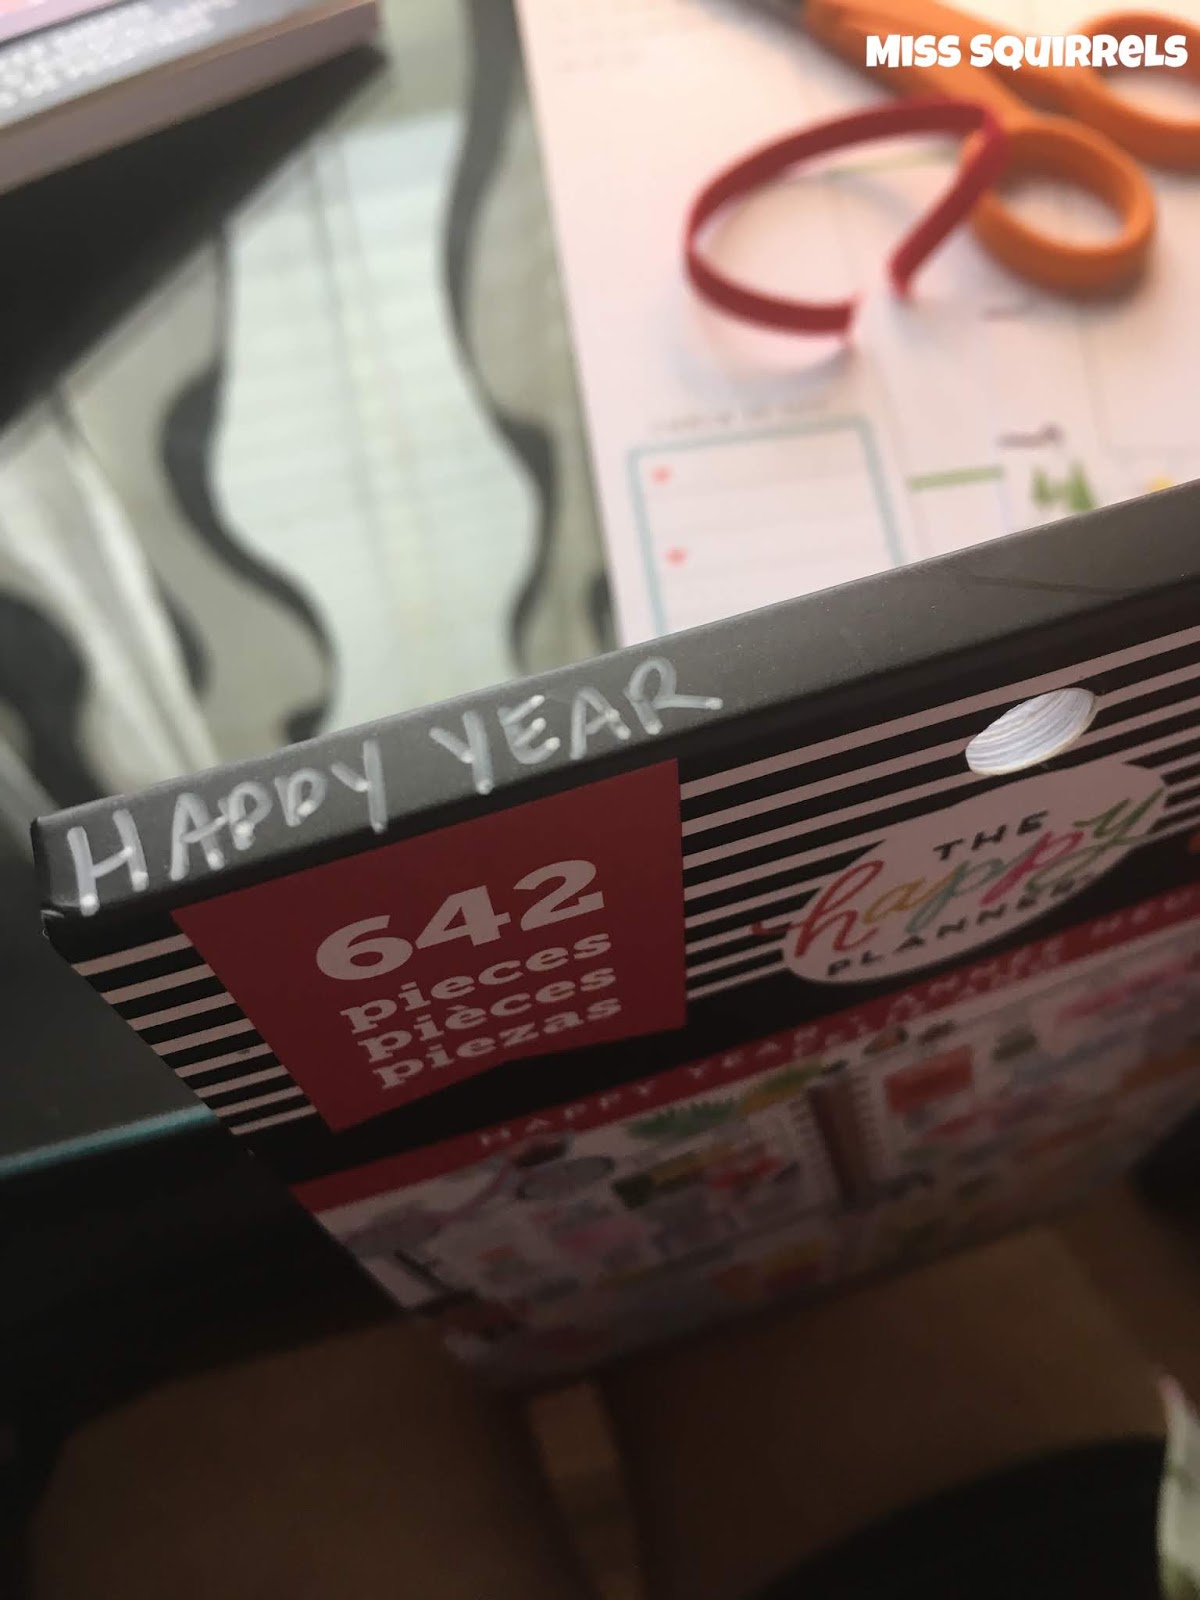
I just use a regular chalk marker. It's forgiving enough if I make a mistake when I am writing it on there and strong enough to stay put. (And trust me, I am ALWAYS touching them).


After I get them labeled from the top, I turn them around and cut off the bottom elastic. I know. Some people have a hard time with this. They think that the books aren't going to stay closed. 

They will. Unless you are folding the front cover behind the book, they are going to stay closed. 

I originally started cutting them off  and tying them to the top because ..... I saw it on the gram! Lol. Seriously, everyone else was doing it so I thought I needed to, too. And it was a kind of helpful to look for a certain color top when I was flipping through them. (This was before I was writing on top).  BUT then I started accumulating more books, and many of the color elastics are the same (or very close). 


Not only does it help to identify, it also helps to hold the pages together if they start to come loose. 


Now there's one more thing I do before I add them the drawer to be used. Some of you will gasp. I know that there are many who keep their books with the elastic on, no writing, and perfectly pristine. And that is OK. That works for lots of people. But I am using them ALL the time. I am constantly thumbing through to find the perfect sticker for a weekly spread or for an accent in the Memory Keeper.

And even though they are so easy to identify, I still came across one more tiny thing that kind of bugged me. The front of one book would get caught on the back of another book when I was putting them back in the drawer. It was those darn grommets that hold the elastic on. So......


I decided to cut them right off. Just that little black strip on the back.


So when I slide them in and out of the drawer I don't have to worry them catching and bending the front cover. It doesn't do anything to the functionality of the book. It just makes it easier to store them. 


This is a quick pic of the rows- totally not in any order- other than the striped washi I put on all the Happy Memory and Big Sticker books for when I am working in my Memory Keeper. It just makes organizing a little easier.

So that's it. When a new sticker book comes into the house, it gets snipped, tied, and labeled and it is ready to join all the other beauties that already live here.


If you have a great tip, leave it or the link for it in the comments. I would LOVE to check it out! I am always on the hunt for new ways to plan and play with my planners.


Head over here to see which Memory Keeper I am currently using, along with my favorite Happy Memory Sticker Books. I also have a list of the tools that I use to create my memory pages every week! Be sure to follow so you'll see when I add something that I actually use and love!

Wednesday, April 10, 2019

Meal Planning Helper!


Well, here we are! I took the pictures to make this tutorial on my blog over a month ago. Actually, it may have been over two months ago. I think I was mostly nervous because it has been so long since I have written anything longer than an Instagram caption.

It used to be my favorite part of the night, to sit down my with laptop and write about what was going on or what I was using in my classroom. And while things have changed considerably, I do still love sitting down to write every night. Except now I am writing in my planner or catching up in my Memory Keeper - basically doing something at my desk.
I wanted to share one of the things I made for my planner to help me out in the meal planning department. (Y'all know how much I love that!)
I was going to make this a video instead of writing about it, maybe the next time I make something I will think about the filming before I get started. 

This little tool that I made for meal planning has come in so handy! 

Like many of you, I shop once a week for groceries. And also like many of you, I am a lone ship on the ocean of meal planning. They are not much help, especially since I have taken out so much of the bad food that we used to eat. They know I am going to say "NO!" so they don't bother. 
These cards that I made are not only adorable, but they have really been helping me out for the last two months. 
Let's take a look at the finished product first:


I made these cards with meal ideas of things we ALREADY like and eat. Some of them are Whole 30 and some are not (but you can see that). I used a  Happy Planner photo insert to set the cards in. They live right next to my grocery list in my planner. That way when I am planning for the upcoming week, I can get ideas without having to ask everyone in the house. It makes planning for week so much easier. On one side of the page, I have Whole 30 meals and on the other side I have, you guessed it, Not Whole 30 meals.

It really was super simple!

First, I went through all of my old meal plans and made a separate list of entrees and sides. Things that repeated themselves often were obviously going to make it onto the cards.


I set the list aside, and cut a 4x6 photo card into 4ths, The size is important because we want these to fit into the photo page when we are done. 


Now the fun part: STICKERS! 
I used stickers from the Happy Planner Food Value Pack to decorate the bottom of the cards. I was trying to go all healthy, but the burger and the mac and cheese were just too cute!


Ok, the next part gets a tad techy- but not really. It was just a matter of scanning these four little cards on my printer/scanner. I scanned them as a photo, opened a Google Slide and placed the scanned picture in the background. I was then able to type the headings and lists. When I printed the page, I just cut out the cards separately and placed them in the photo holder. 

If that sounds like too much work, then I have a link for you! Now, using this means you will be skipping the sticker step and your cards will look just like mine. But if you are in it just for the functionality, then this is just what you need! 
After you click this link, it will tell you to make a copy- that's so we all aren't writing on each other's meal cards 😉


Once you open it, you can change the headings, the lists, the fonts- make it what works for you- and I'm telling you, this really works for me! I've been using it since the beginning of February this year and it has made a big difference!

After you print your "cards" on card stock or regular paper (and it doesn't really matter because they will be in the protector), you place them in the page next to the pages you meal plan in .


I have placed a few post-its on the page in my planner since I have done this, And I make a note that I need to go back into the computer, add a meal, and reprint. This will be really simple to do, just a matter of editing and reprinting.


I never in a million years thought that one book would be so important or serve as many purposes as this one does for me. I do have tons more to share. Whether or not I will share them with via video, instagram, blog, tweet- who knows-?!!? It all depends on the time of day, the amount pictures I took and whether or not I am having a good hair day! 🤣

Below are some of the materials I used while making this tool for my planner! Let me know in the comments if you are able to use this, too! And also, if you have any questions about how I set it up- I would love the feedback!


Also, check out my Amazon Storefront for other items I constantly use for Planning and Memory Keeping!


Related Posts Plugin for WordPress, Blogger...
 
Pin It button on image hover